Expert Tips for Assembling OT6 Wizard V2 Chassis

- Authors
- Published on
- Published on
Roadside RC unveils the OT6 Wizard V2 chassis, offering a masterclass in assembly finesse. With the swagger of a seasoned pro, they emphasize the crucial placement of body mounts on the outer edges of the chassis rails. This simple yet vital tip sets the tone for a tutorial brimming with wisdom. The team's advice on using shock pliers or locking pliers to tackle the tricky rear link assembly showcases their practical approach to problem-solving. It's a symphony of efficiency and expertise, a true display of mechanical mastery.
As the build progresses, Roadside RC navigates the complexities of servo mount installation with surgical precision. They caution against any backward maneuvers and stress the importance of thread locker for those metal screws. Each step is dissected with surgical precision, ensuring that viewers are armed with the knowledge to conquer their own assembly challenges. The team's guidance on drive shaft measurement and assembly is delivered with the confidence of a seasoned veteran, shedding light on potential pitfalls and solutions with a touch of class.
Roadside RC's attention to detail extends to tire hole punching and wheel assembly, where they share insights to streamline the process. Their recommendation to install electronics early in the build process reflects a strategic mindset, setting the stage for a seamless integration of components. The discussion on battery placement highlights the team's practical approach to problem-solving, offering viewers a roadmap to navigate the spatial constraints of the chassis. With a nod to potential gear backlash issues and a comprehensive tool list, Roadside RC equips viewers with the arsenal needed to tackle any assembly challenge head-on.
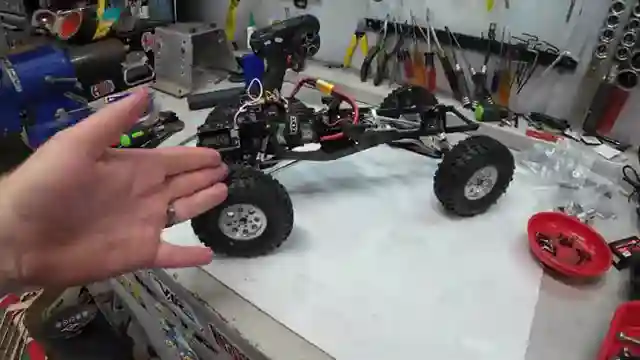
Image copyright Youtube
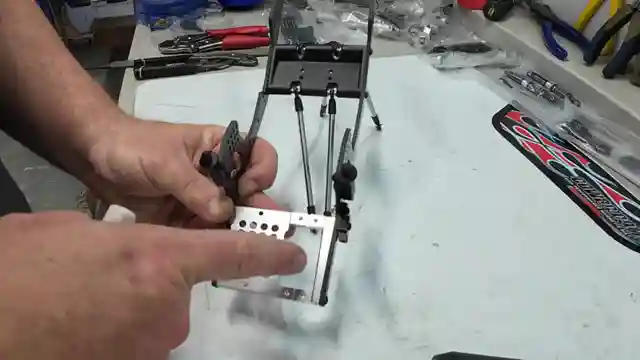
Image copyright Youtube
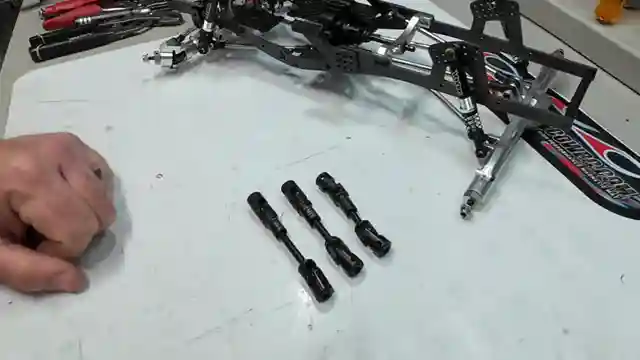
Image copyright Youtube
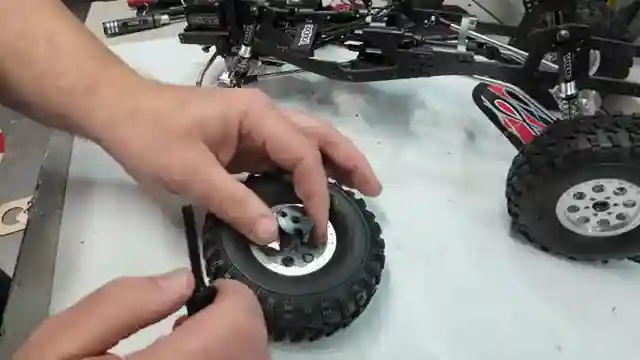
Image copyright Youtube
Watch Before You Build! Tips for Building the Ottsix Wizard C2 RC Crawler on Youtube
Viewer Reactions for Before You Build! Tips for Building the Ottsix Wizard C2 RC Crawler
Issue with fwd/rev
Adding washers against carbon chassis
Using pliers carefully to avoid marks and scrapes
Checking alignment of universal joints
Mention of 850mah battery
Some users trying to use 8500mah battery for entire day
Importance of alignment for universal joints
Tips for avoiding scrapes when tightening screws
Mention of holding parts loosely to prevent slipping and rotating
Discussion on different battery sizes and weights
Related Articles
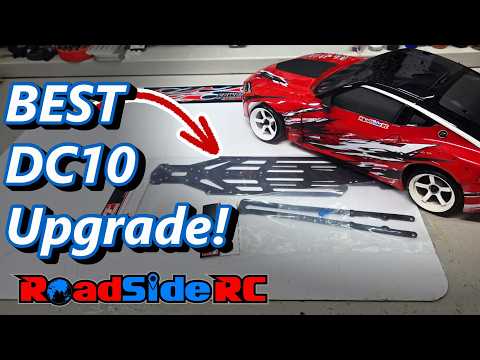
Enhancing Team Associated DC10 Performance with High Flex Chassis
Roadside RC upgrades the Team Associated DC10 with a high flex chassis for enhanced traction and speed. Detailed installation process and benefits of the lightweight, flexible design are highlighted, setting the stage for improved performance on the track.
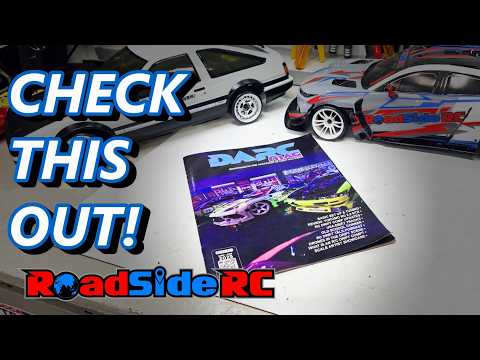
DARC Mag: Your Ultimate RC Drift Guide
DARC Mag, the ultimate guide for RC drift enthusiasts, covers setting up RC cars, Super Drift 2025 updates, drone integration, and scale builds. Access electronically or from select tracks.
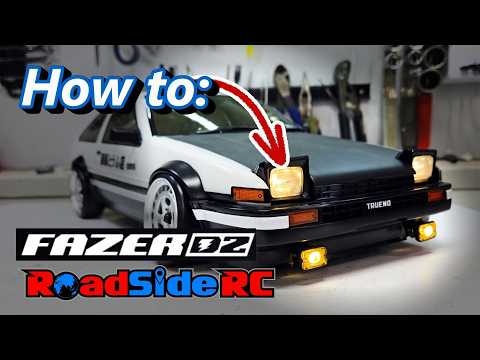
Enhancing Kyosho Body with Authentic Lights: Roadside RC Installation Guide
Roadside RC showcases installing lights on a Kyosho body. They navigate unclear instructions, simplify complex installations, and achieve authentic results. Viewers are encouraged to engage and explore related content.

Exploring Automotive Paradise: Mat Emat Showcases Impressive Cars
The Roadside RC team explores Mat Emat, encountering a diverse range of impressive cars including imports, Chargers, Mustangs, and a turbocharged beast with drag radials. The automotive paradise at Mat Emat captivates with unique vehicles like an RX7 and GT 350, offering a thrilling experience for enthusiasts.